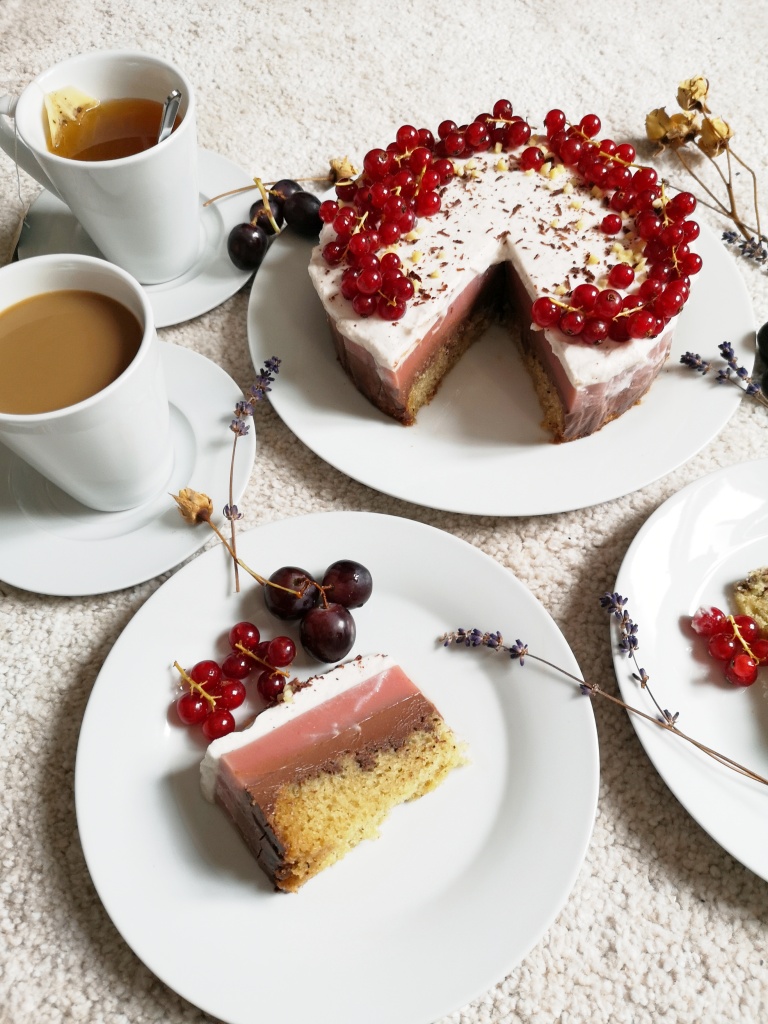
Hey y’all! Like I mentioned in my previous post, I am now back and ready to get back at blogging (*ahem* regularly). For a return to form, I wanted to show this recipe that I improvised with the things I had at home. This time, I made a 4-layer vegan chocolate strawberry cake!
Actually, I really wanted to make this cake because it would be the last time I would have an oven for a while. Until I move to Paris, I will be living in my novio’s place, and he doesn’t have an oven. So, I decided to make this cake (and video) with this free time!
4-layer vegan chocolate strawberry cake
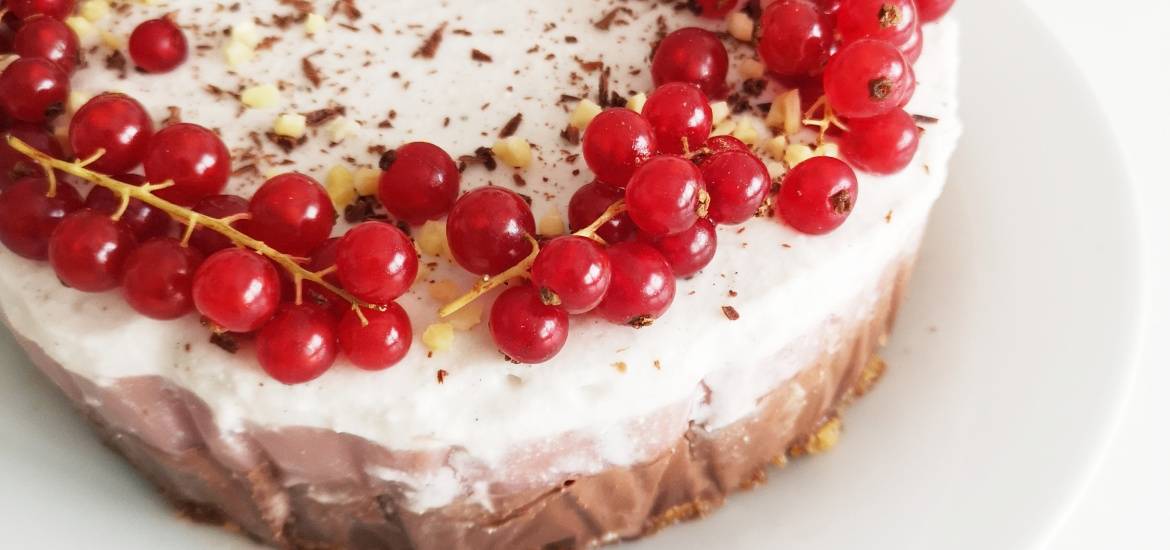
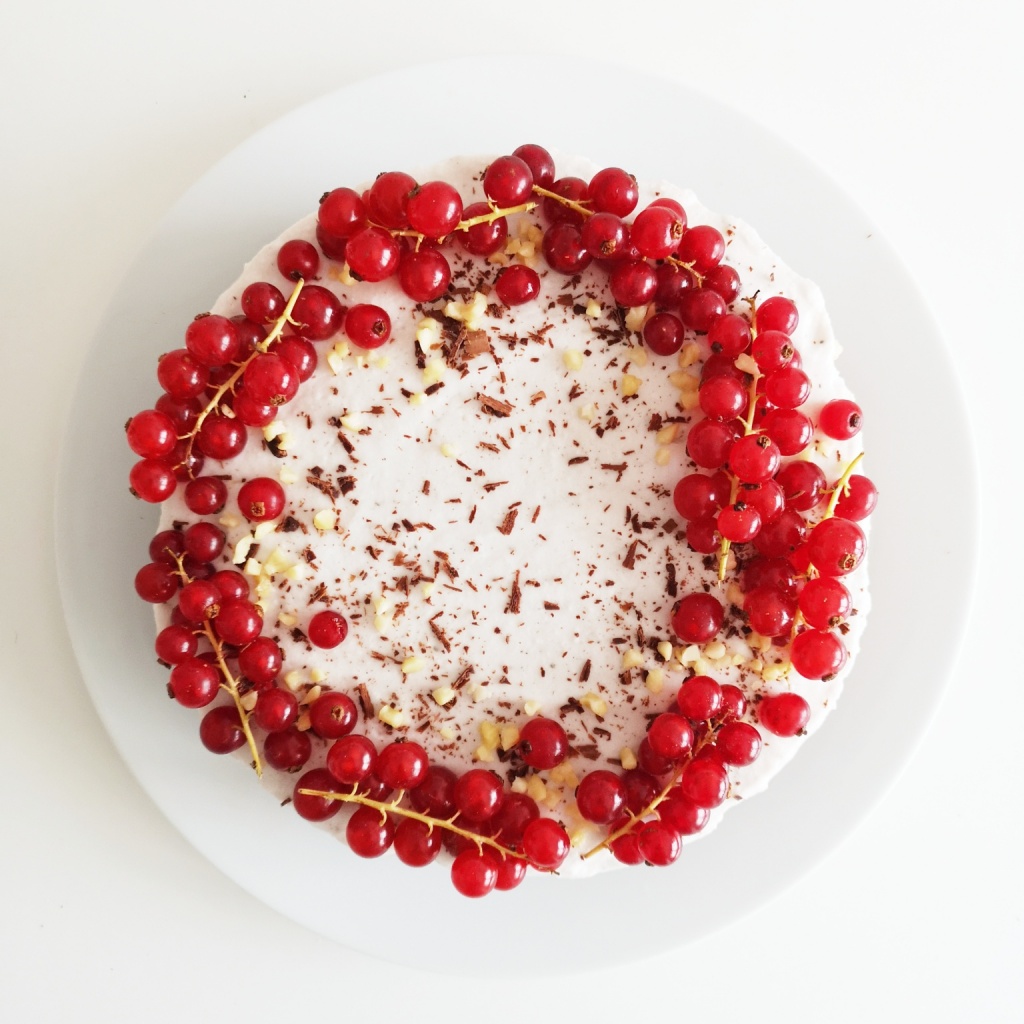
The cake itself was inspired by some layered vegan cakes I’ve seen on Instagram. You probably also have seen it before. For my cake, I wanted to go with a tried and true pairing of berry + chocolate. It never fails! The tartness of the berries compliments the bitter sweetness of the chocolate. And the coconut cream on top is just the metaphorical cherry on the cake!
The vanilla cake base was an veganized adaptation of a recipe I used for a long time from Ricardo Cuisine. Instead of gelatin, the strawberry jelly uses the vegan-friendly agar-agar, which is commonly used in Asian desserts to mimic a gelatinous texture—although it could instead be “crunchy” rather than gelatinous if too much is used. So be warned.
I also made a video to accompany the recipe, and posted on Youtube! Here you go (and subscribe to my Youtube if you like :D)!
A bit time-consuming…
So…a bit of a warning: this recipe does take a while to complete. It’s simple, yes, BUT it takes a long time because the many layers requires time to set in the fridge. So it might take a day or two to fully complete the cake, but in the end, it is definitely worth it!
So, enjoy y’all, viel Spaß and guten Appetit!
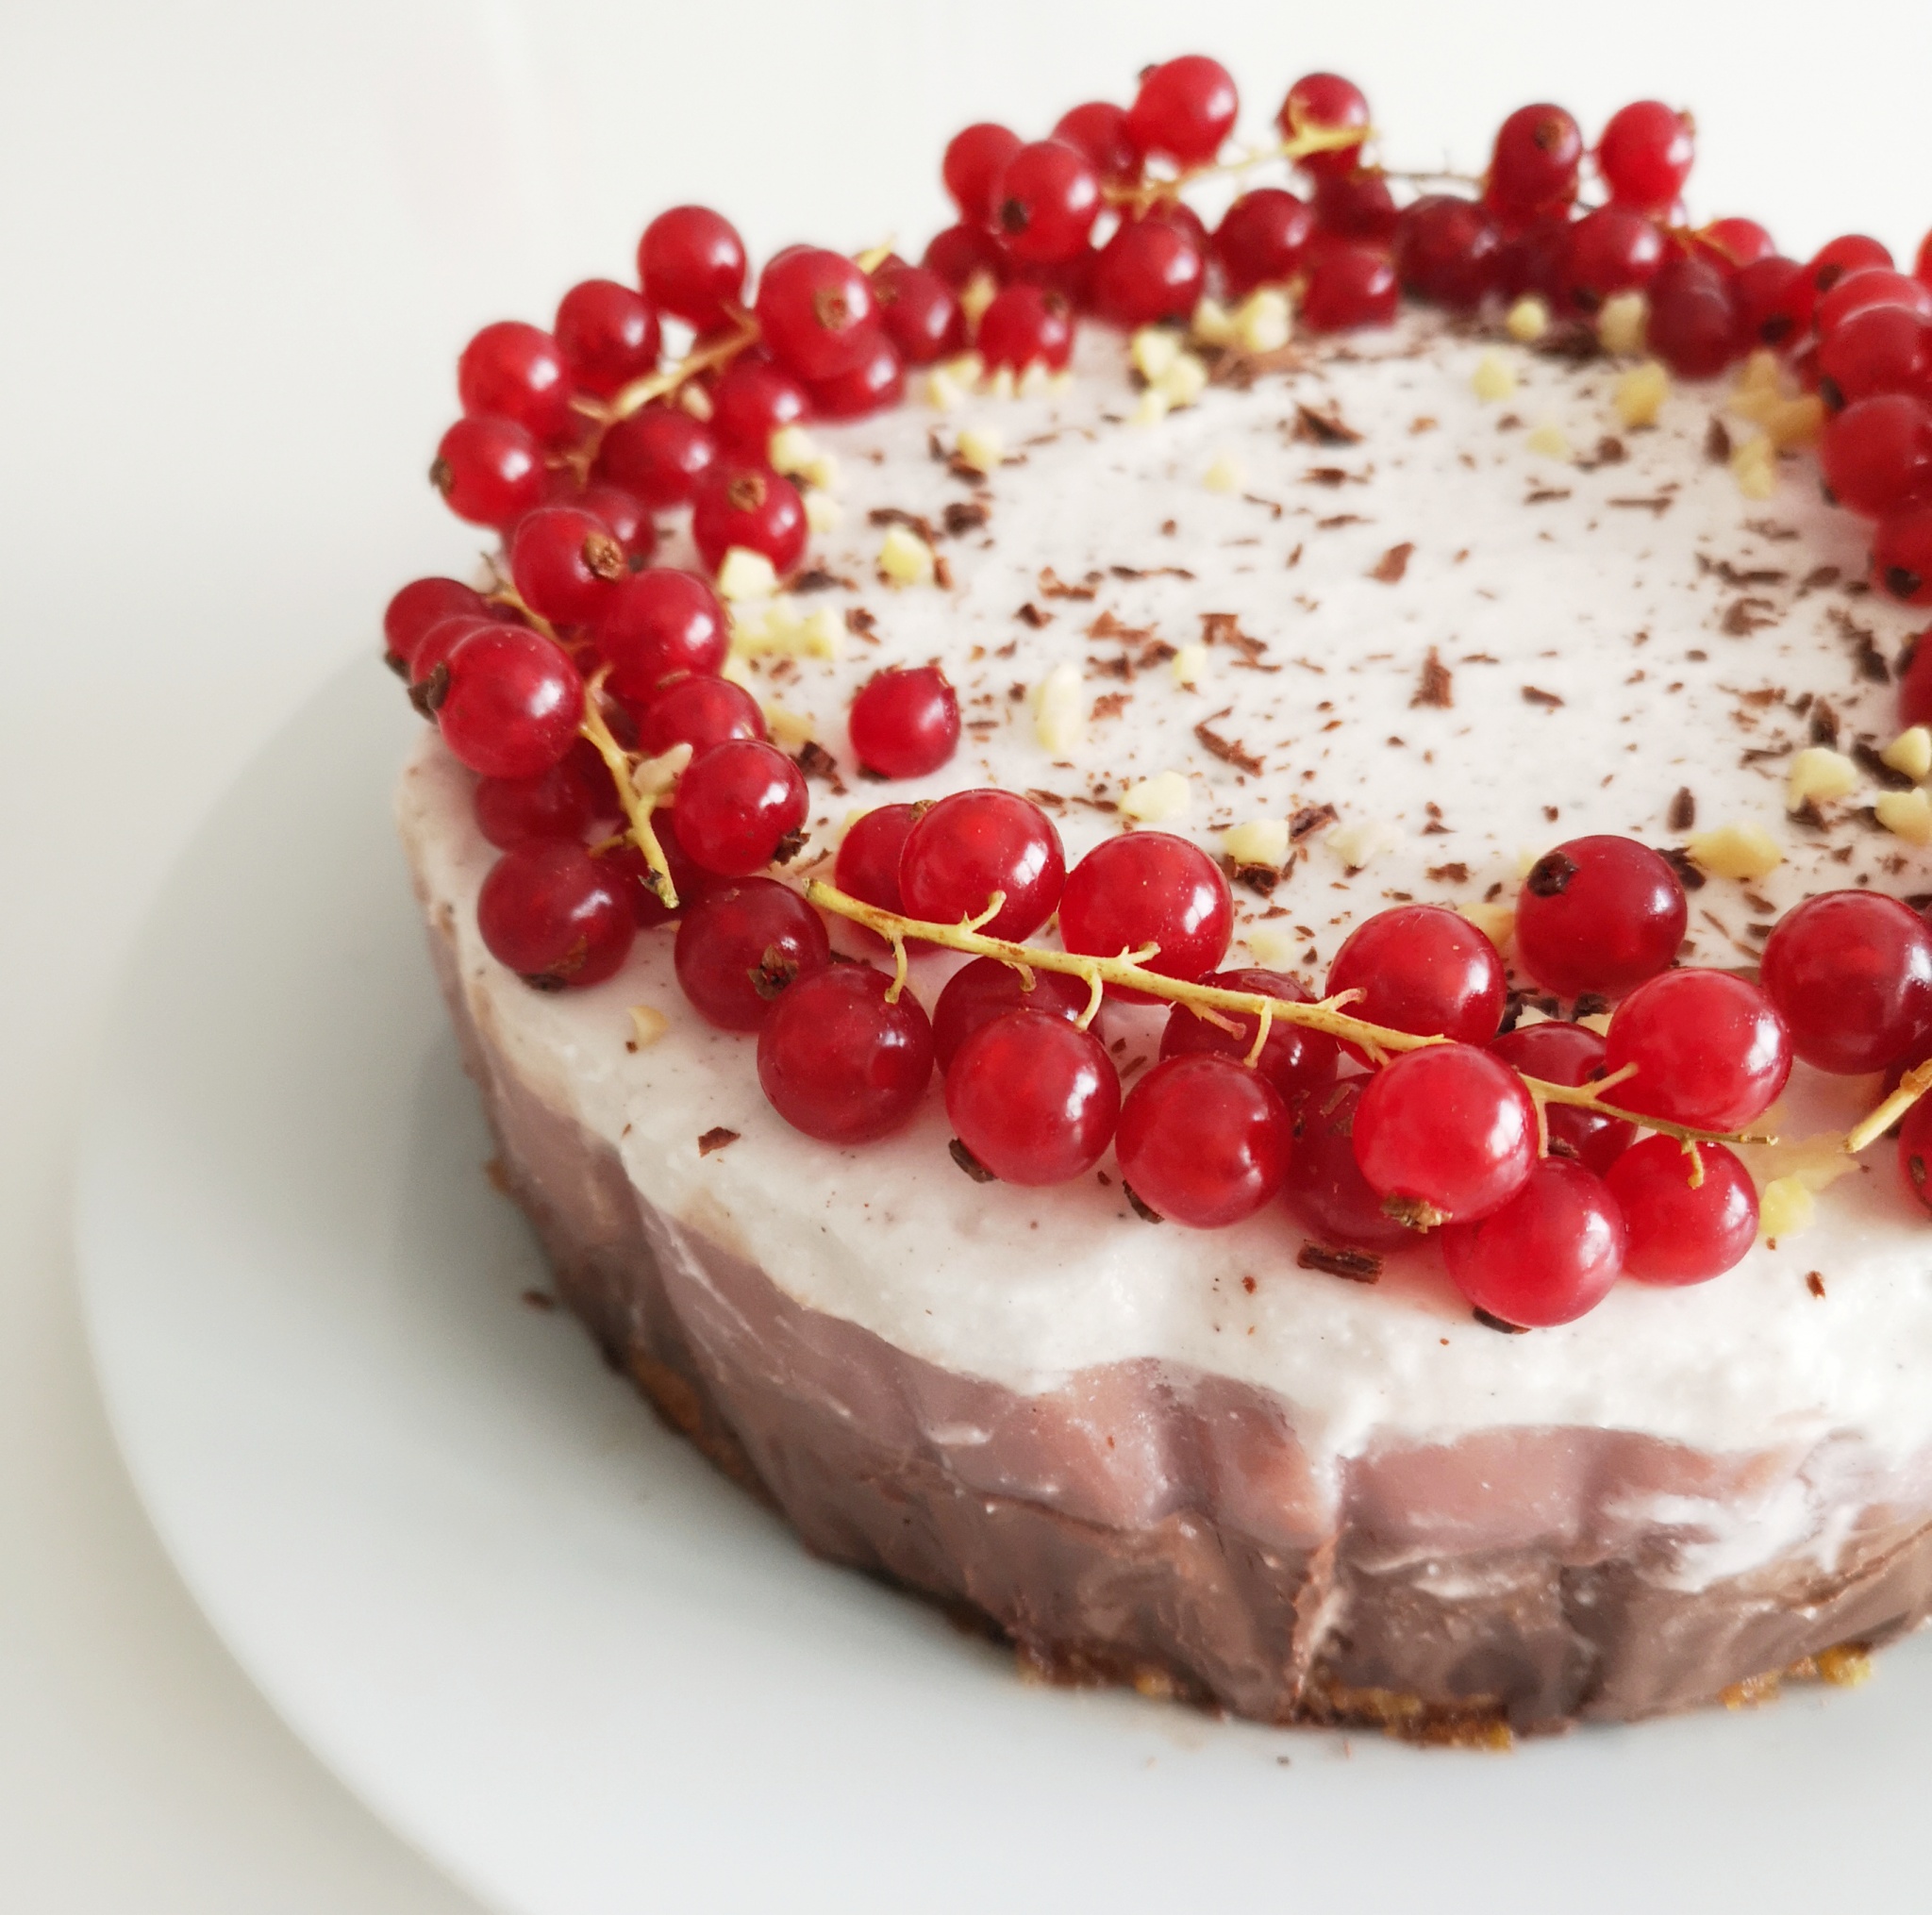
4-Layer Vegan Chocolate Strawberry Cake
Equipment
- Tall cake ring or springform pan
Ingredients
Vanilla Cake Base
- 1 cup flour
- 1/2 cup sugar (heaping)
- 2 packets vanilla sugar (see notes)
- 1/2 tbsp baking powder
- 1/2 tsp baking soda
- 1/2 tsp salt
- 1/4 cup oil (vegetable, canola, olive, etc.)
- 1/2 cup non-dairy milk (almond, soy, coconut, etc.)
- 1 tbsp cornstarch (or egg replacer; see notes)
- 2 tbsp water
Chocolate Ganache
- 150 g dark chocolate
- 1 cup coconut milk (see notes)
Strawberry Jelly
- 1 cup frozen strawberries (heaping)
- 1/2 cup water
- 1/4 cup sugar (and to taste)
- 1/4 cup non-dairy milk (almond, soy, coconut, etc.)
- 2 tbsp agar-agar (or 10 g sachet; see notes)
- 1/2 cup non-dairy milk (almond, soy, coconut, etc.)
Coconut Cream
- 1 can coconut cream (chilled in the fridge for 24 hours; 400 mL)
- 1/4 cup powdered sugar (sifted)
- 1 packet vanilla sugar (see notes)
- 1 tbsp agar-agar (or 5 g sachet; see notes)
- 3 tbsp coconut milk liquid leftover (from the can)
Instructions
Vanilla Cake Base
- Preheat the oven to 350°F or 180°C. Grease and flour (or line) a 8" (20 cm) cake pan, and set aside.
- In a glass, mix the cornstarch and 2 tbsp water and set aside.
- In a bowl, mix your dry ingredients together (flour, sugar, vanilla sugar, baking soda, baking powder and salt), and set aside.
- In another bowl, mix the oil, non-dairy milk and cornstarch mixture together until combined.
- Add the wet ingredient mixture to the dry ingredient mixture, and mix everything until incorporated.
- Place the batter in the cake pan.
- Bake for 15-20 minutes, or until you insert a toothpick and it comes out clean or with a few crumbs.
- Allow to cool completely (about 1-2 hours).
Chocolate Ganache
- Line the sides of a springform pan or cake ring with acetate sheet or parchment paper (like me).
- Place the cooled vanilla cake in the bottom of the pan/cake ring, making sure that the bottom is sealed to prevent leaking.
- In a small pot, heat the coconut milk until simmering but not bubbling.
- Chop the chocolate into small pieces and place in a heat-proof bowl.
- Gently pour in the heated milk over the chocolate, and let it sit for 3 minutes (to allow the chocolate to melt).
- After 3 minutes, mix well with a whisk until smooth.
- Pour the chocolate ganache over the vanilla cake base, and allow to chill in the fridge until the ganache is set completely (about 4-8 hours).
Strawberry Jelly
- Blend the strawberries and water to make a puree.
- In a pot, add the blended strawberries, sugar, 1/4 cup non-dairy milk and agar-agar, and mix well.
- Heat the pot over the stove until warm and simmering. Remove from heat.
- Add the 1/2 cup non-dairy milk to quickly cool the mixture. Allow the mixture to cool until only warm.
- Pour the strawberry jelly mixture over the vanilla cake + ganache cake, and allow to set completely in the fridge (about 2-4 hours).
Coconut Cream
- After chilling in the fridge for 24 hours, open the coconut cream and spoon the cream that rose to the top into a chilled bowl.
- Add the powdered sugar and vanilla sugar, and whip together with a whisk or electric mixer. Set aside in the fridge.
- In a bowl, add 3 tbsp of the liquid leftover from the coconut milk can and mix the agar-agar together well.
- Microwave/heat the mixture until warmed to "activate" the agar-agar.
- Afterwards, cool the agar-agar mixture slightly until only warm, and mix into the coconut cream to incorporate.
- Place the coconut cream on top of the vanilla cake + ganache + strawberry jelly cake, and allow to set completely in the fridge (about 3-4 hours).
- Once the cake is completely set, remove from cake pan/ring form and transfer to a serving plate and enjoy!
Notes
Substitutions:
- Here in Europe, vanilla sugar is more commonly found than vanilla extract. You can substitute instead 1 tsp vanilla extract for 1 packet of vanilla sugar.
- Instead of the cornstarch + water slurry as an egg replacer, you can use a commercial egg replacer instead.
- You can use fresh strawberries instead if available, and adjust the sugar accordingly.
- Agar-agar is a vegan alternative to gelatine. Follow the instructions according to the manufacturer.
Perfect with coffee or tea
This cake is SO perfect with coffee or tea (without sugar hehe)! Also, it’s so pretty and such a showstopper in any tea party, dinner party, or just any gathering. 🙂
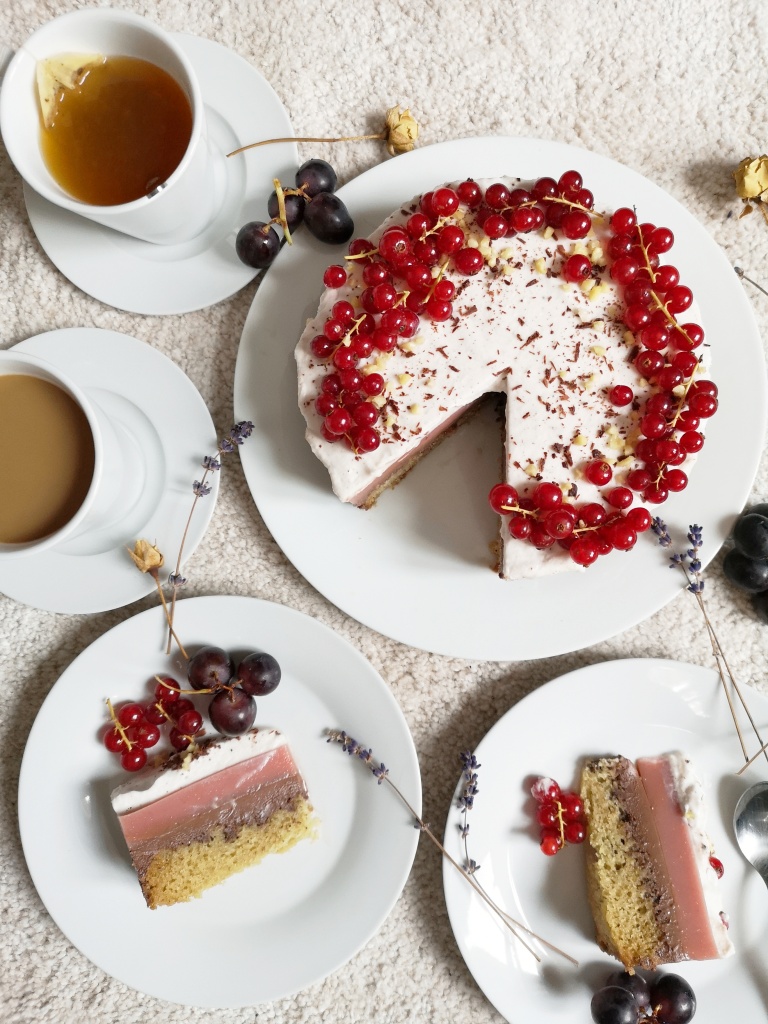
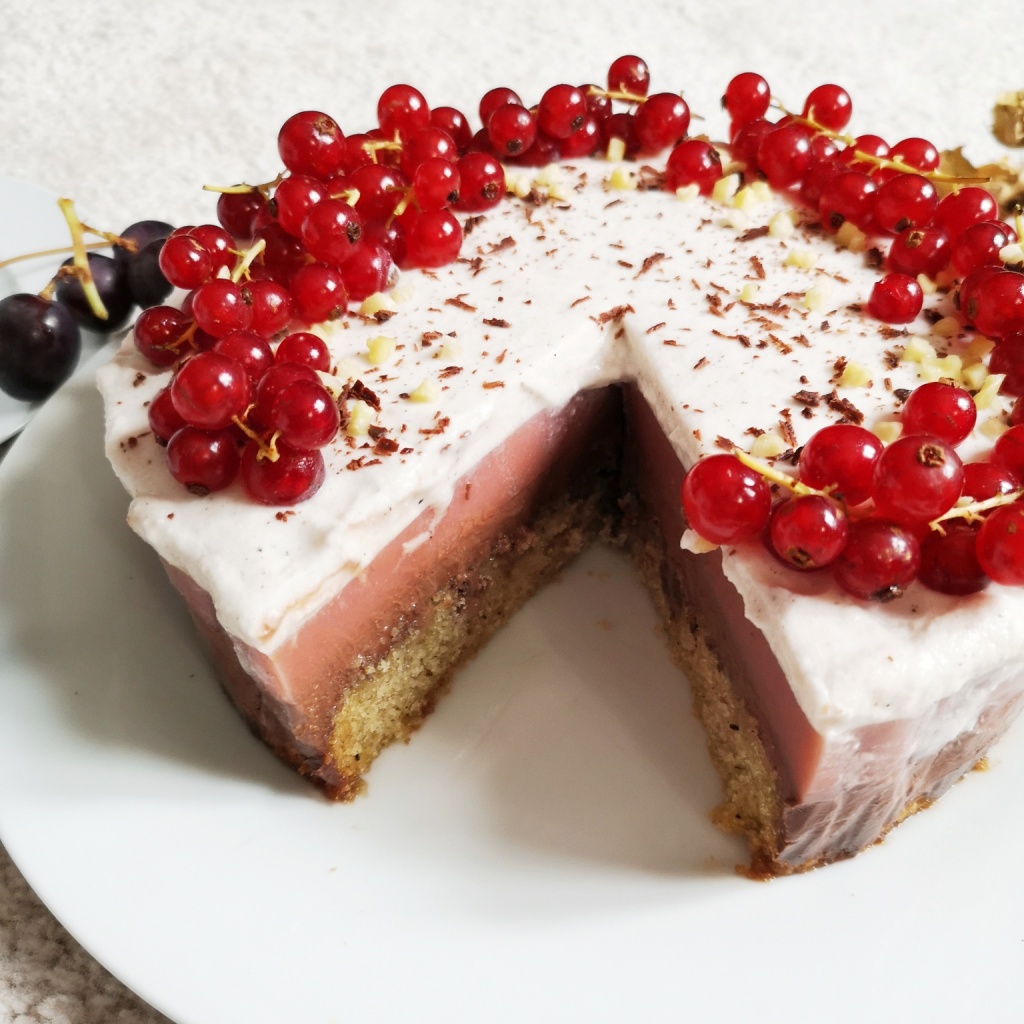
And look at those layers! You can clearly see the four layers that comprise the cake, and all together meld so well in your tastebuds. I think the sides would’ve looked cleaner if I used acetate sheets instead of parchment paper on the baking form, and if you have those, I urge you to use them!
Otherwise, sometimes you just have to improvise and use what you got! And sometimes you just get a beautiful rustic cake like this 🙂
